- Download Installation File
You can download the current eValid version from this FTP address:
ftp://ftp.e-valid.com/pub/windows/evalid/evalid9.exe
- Accept Security Warning
In some types of systems you may be shown a security warning like that shown below:
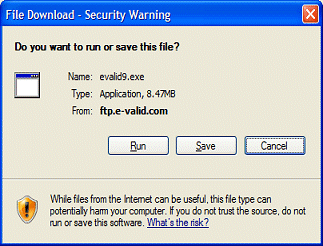
As long as the page looks identically as shown, we recommend you click
"Run" [to run the FTP and installation directly]
or
"Save" [to save the eValid9.exe file locally for installation as described below].
- Download Complete
Once the download process is complete you will see this display:
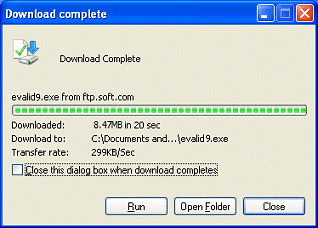
As a result of the completed download process
you will now have a file named evalid9.exe available on your computer
at the location you specified.
The location of the file is indicated in the Download Complete display.
To start the install process please double-click on this file.
- Authenticity Verified
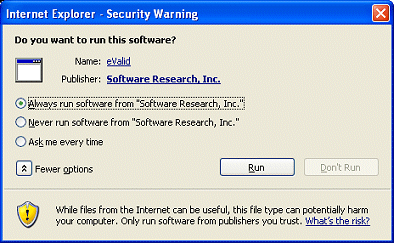
Next you will see a Security Warning screen in which you are informed that the eValid download
has been authenticated. You can Check the "Always run software..."
and Click Run to continue.
- InstallShield Banner
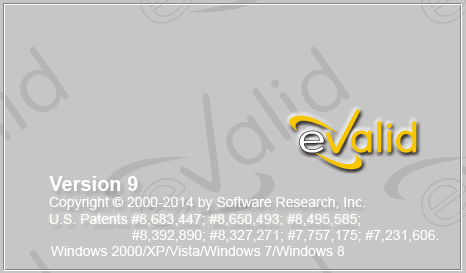
While InstallShield is going through its setup operations,
you'll see a display like this:
- First-Time Installation
Here is what you will see if this is the first time eValid has been installed on your
machine:
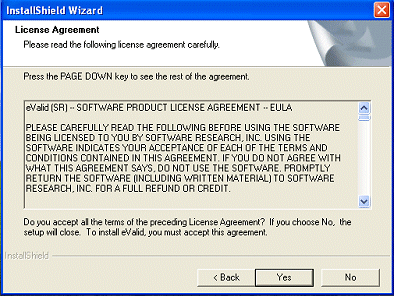
Click on "Yes" indicating that you agee to the terms and conditions of the
eValid End User License Agreement.
- Replace/Update Already Installed eValid
If you already have an eValid installation on your machine, the
normal process is to install the new [later] copy of eValid in place of your current copy of eValid.
You'll be shown this display:

Click Yes to install overwrite the current copy of eValid with the new version.
- InstallShield Wizard Setup
Next the InstallShield Wizard asks you some simple questions, as shown in this display:
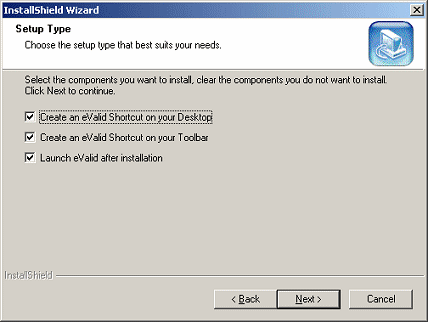
We recommend that you accept the default settings.
- InstallShield Results
After the installation is complete InstallShield reports the status of
what it accomplished, as shown here:
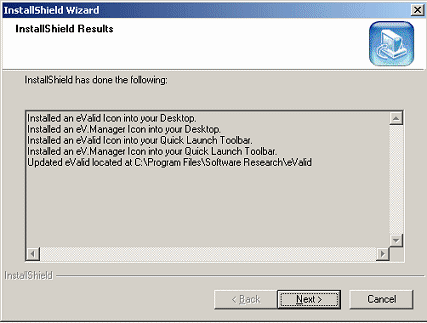
Click "Next" to continue.
- Update Complete
Your installation is now complete, as indicated in this display:
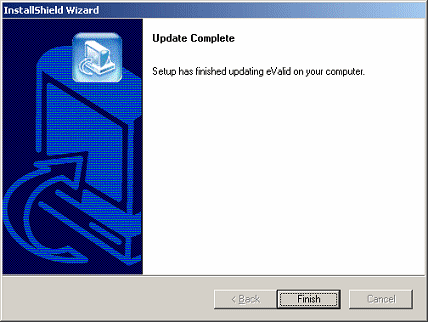
Click "Finish" to conclude the eValid installation process.
- Install License
If you already have an eValid license installed, you're done: your eValid
installation has the latest update.
If you don't have a license installed,
and the "one-click-install" is unavailable
or didn't work for some reason,
please see the
Manual License Installation instructions.
- Product Support Resources
In case you need them, here is a list of available
User Resources
that detail all features of this version of eValid.


